What is a measuring point?
A measuring point references a physical location that has been measured for a certain period. You can disconnect the sensor, the physical measuring device, from a specific measuring point, in which the data has already been recorded in the cloud. This allows you to use the measuring device again on a new project and for a new measuring point. In the online platform Honeycomb, you can view the measurement data of each measuring point and the sensor used at that location whenever you want.
Evaluating measuring points vs. measuring units
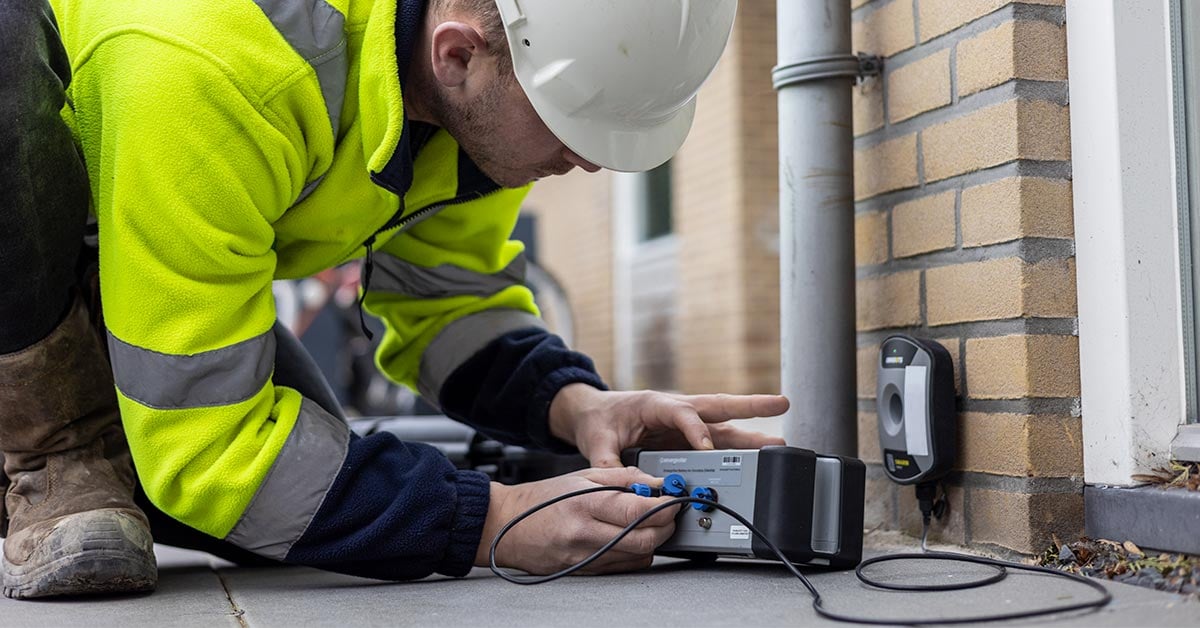
Using an example of a sewerage project at the canal houses in Amsterdam, Lourens Rozema (CTO of Omnidots) explains the advantage of evaluating measuring points instead of the measuring device itself. “For a large-scale sewerage project on the Amsterdam canals, vibration measurements had to be carried out to protect Amsterdam’s large monumental townhouses. Replacing the sewerage does not happen all at once but rather piece by piece. The vibration measurements are then taken at the houses where the excavator works. This allows you to move the sensors along and create a new measuring point for each house in the measuring platform. So for each canal house, you have created a measuring point in the online platform Honeycomb, but you may only need three physical measuring sensors.”

Pre-set easy measuring points in Honeycomb
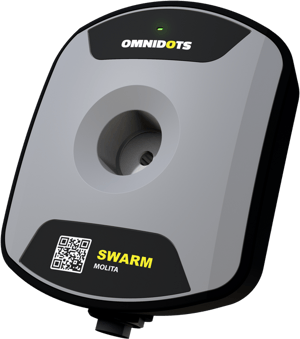
Most canal houses in Amsterdam are pretty old. They date back to the 17th century, during the Golden Age. Due to the state of some buildings, it is necessary to set a custom measurement configuration. With the handy functionality of the Honeycomb platform from Omnidots, you can give each building its own measuring point in advance. This also allows you to set the correct measurement configuration for each building in advance. After moving the vibration sensor, you only need to disconnect it from the old measuring point and then connect it to the new measuring point; Honeycomb will ensure that the SWARM (vibration sensor) will use the correct configuration.
Linking multiple sensors to one measuring point
Another advantage of Omnidots referencing the measuring points and not the measuring device itself is that if the sensor breaks down, all previously measured data will remain stored at that measuring point in the Honeycomb platform. “For example, someone can drive their truck too close to the sensor and knock the sensor off the wall. You can replace the sensor, but the measuring point and all the measured data will remain. This allows you to link multiple sensors to the same measuring point," adds Lourens finally.
How do I create a measuring point in the online platform Honeycomb?
In Omnidots' online platform, Honeycomb, you can easily create one or more measuring points. You can get started in just four simple steps.
- Go to Honeycomb and log in with your username and password.
- Click on 'Measuring point' in the menu at the top of the page and then on 'Create SWARM measuring point.'
- Choose a name for your measuring point and click "Save." You have successfully created a measurement point. Our advice: Always choose a name that makes a measurement location easy to find. For example, 'University Main Building 1'.
- Note: By connecting your SWARM to the measuring point, the Honeycomb knows which type of vibration meter you have. All associated options and choices are then offered on this configuration page.
- After linking, you can continue with the configuration on the measuring point page.
Important note: it is impossible to connect a sensor that is already connected to another measuring point.
Would you also like to see how to create a SWARM measuring point step by step in Honeycomb? Watch the instruction video.
Would you like more information about Omnidots products? Do you have any questions on how to set measuring points correctly? We are more than happy to connect with you and tell you more about it.
Share this

The technical operation of vibration measurements
What measuring equipment is needed for DIN4150-3 and DIN4150-2?