Measuring and monitoring vibration in construction and infrastructure is an important activity. Accurate measurements prevent possible damage to buildings and ensure that people living or working near construction sites can go about their daily business as usual.
But how do you perform a good vibration measurement? And what about the technical side of vibration monitoring? In this blog article, we'll tell you more about the technical workings of vibration measurement.
What is a vibration?
Before we delve deeper into the technical workings of vibration measurement, it's helpful to consider what exactly you're measuring. What parameters determine whether something is a vibration, and how do you recognize them? You only measure two parameters:
-
The amplitude (top value of a vibration): how much does something move? You can measure this value by looking at acceleration, velocity, or displacement. Displacement often involves minimal values of a few micrometers per second, while you measure acceleration in centimeters per second. Acceleration is measured with accelerometers, while velocity is accurately measured with a vibration meter like the SWARM. For this, you used to rely on geophones, but they're no longer needed with the new technology.
- Frequency: how many times does something go up and down within a second? Frequencies are measured in hertz (Hz) or the number of revolutions per minute (RPM).
Preparation
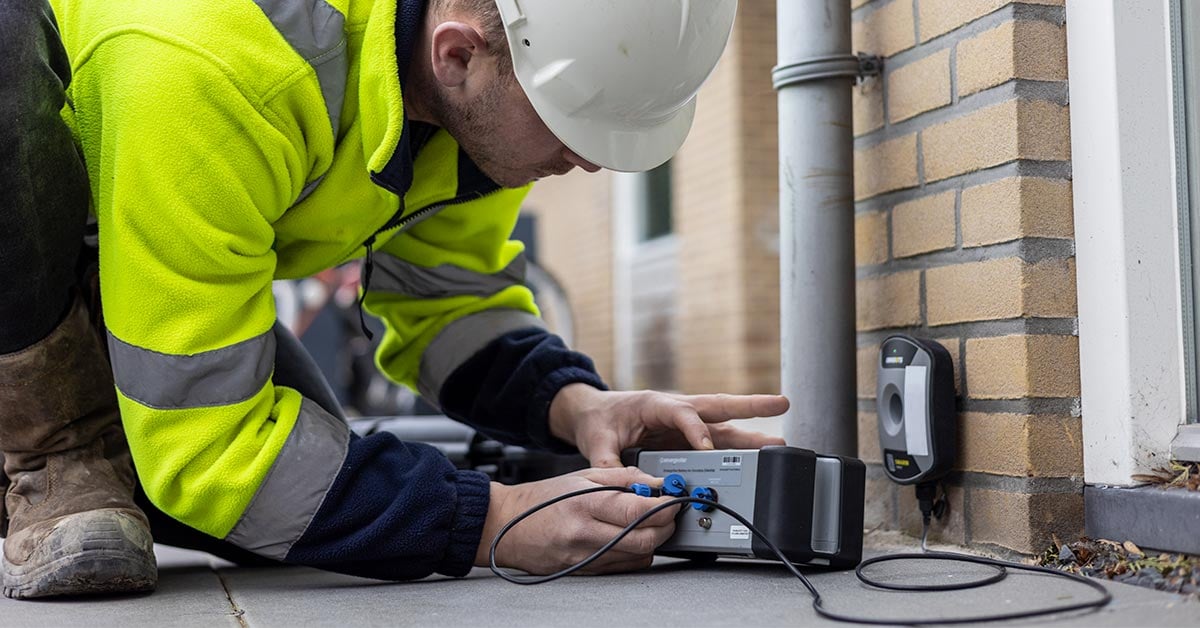
In the past, if you wanted to make a vibration measurement, you had to go through several steps before you could even begin to measure. You had to load and unload big reels, load large and heavy computers into a van and carry big clunky batteries. With a modern measurement system like Omnidots, it all becomes logistically easier. You need nothing more than a compact battery, vibration meter, and any other accessories.
First, check that your battery is charged correctly. Press the button on the battery and check to see if you have enough green lights. If you have less than half of a battery, please charge the battery. This step seems like a no-brainer, but you wouldn't be the first to show up at a construction site with a half or poorly-charged battery.
After checking the battery status, plug in the meter and verify that the system is measuring nicely. Again, this is indicated by an affirmative green light on the SWARM. Are you measuring nuisance to people in buildings and are therefore measuring on the floor rather than on a wall? Then screw the Omnidots Base Plate under your meter. Do you measure on a carpet? Then use the base plate with spikes to improve contact with the floor. On a laminate floor, you should use convex legs, and sometimes you have to put some extra weight on the floor to prevent your meter from 'dancing.' The spikes and convex legs are both included with the Omnidots Base Plate.
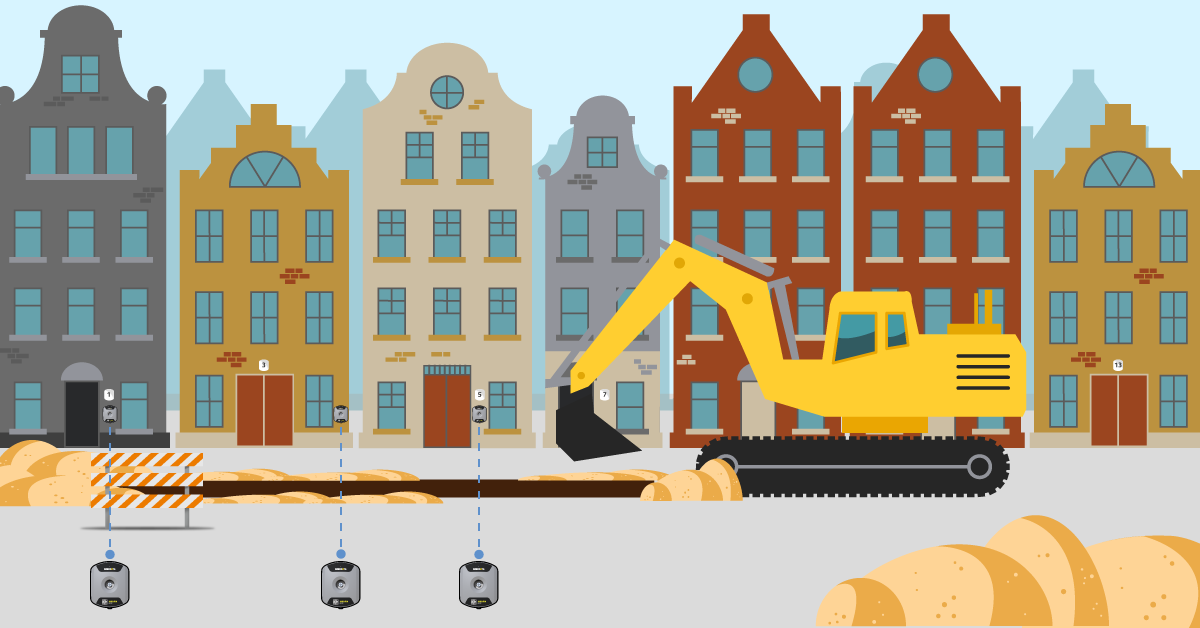
Recording the situation
Next, properly map the current situation at the measurement site. You can do this by taking pictures of the following:
- the premises and the construction site;
- the situation itself (think of a passing truck causing acute vibrations);
- the space in which it is measured;
- the apparatus and the set-up with which you perform the measurement.
Limits and alarms settings
After thoroughly preparing and installing your vibration meter, it is time to start measuring. How does this work if you are using the Omnidots total solution? First, log in to the Honeycomb web platform with your username and password. Here you will see an overview of all your current measurement projects.
Are you starting a measurement? Then create a new project and give it a unique name. Then you can start with your settings. An important part is the alarm settings. In Honeycomb, you easily set an upper and lower limit. Have these values been reached or exceeded? If so, you will automatically get an alarm notification. For example, you can set it so that you receive an alarm when 75% of the value is reached so the people carrying out the work can immediately adjust their activities.
Setting up the SWARM
Next, you're going to set up the SWARM. You do that for the following aspects:
- The sending interval. How often does the SWARM send its measurement information to Honeycomb? Please note: the more often the vibration meter does this, the faster the battery drains. Regardless of your settings, the SWARM makes contact with Honeycomb every hour to see if there are any new settings and if anything needs to be changed regarding sending data.
- The time zone. This is because the Omnidots system is used worldwide.
- The guideline according to which you want to measure. The nice thing is that the settings also adapt to your choice, so you don't get a whole bunch of information and options that are not important for a particular guideline. For example, when measuring for people in buildings, you will see the variables 'living' and 'conditions.' You can also set whether to measure an existing, new or changed situation.
- The trace settings. These show the detailed values of your measurement.
- Should anything else be measured before or after the vibration? Measuring for a few seconds before and after the vibration is common.
- The time of day. Do I measure only during the day, at night, or all day?
Creating measuring points
The next step is to create one or more measurement points. Give your measurement points a name, for example (a variant of), and the locations/addresses where you measure. The system will immediately show that suggestion if you have already typed in a location name in past projects.
Do you work with several measurement points relating to different building functions (e.g., residential at one and office and education at two)? Then you can overrule your standard settings for each measuring point and adapt them to the situation and building function. An extra handy feature of the system: it is impossible to connect a sensor already connected to another measurement point.
After setting up your SWARM and creating your measurement points, you can see whether your measurement project is online and sort measurement projects and systems in Honeycomb. In a graph, you can follow the progress of your measurement and read and analyze your measurement values (periods, averages). Below the graph, you will also find an assessment. Three times a day, you get a line showing the maximum and average values in three directions (X, Y, and Z). So you can immediately see whether the values comply with the guideline. The overview page also shows the times when the measurements were taken, the values, the status of your battery, and the people who receive measurement data.
Learn more
Would you like to know more about the technical side of vibration monitoring? Would you like further details on Omnidots' integrated measurement system? Feel free to take a look at our website, read our FAQ section, or contact us for more information.
Contact us